
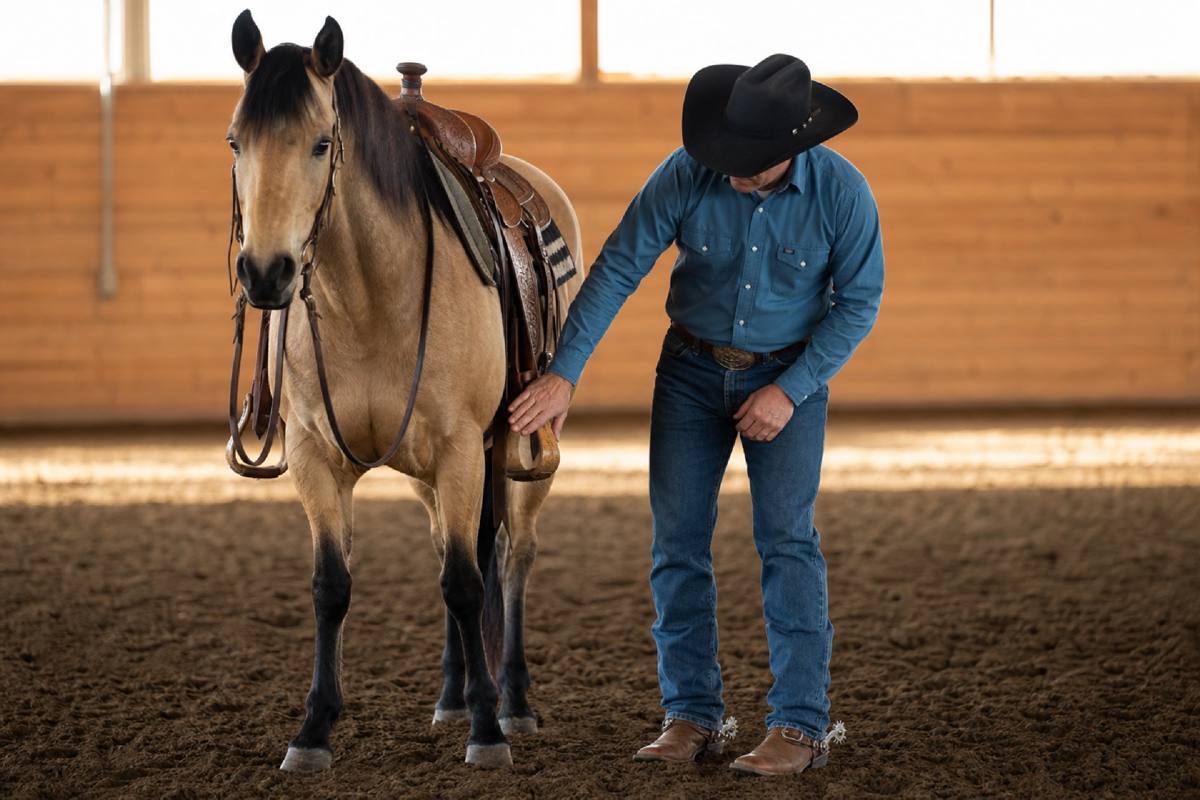
I want riders to think of their legs and spurs the same way they think of their hands: they are communication tools, not decoration. In this episode, I walk through how I choose equipment, how I use pressure and release, and how I keep my horses connected through each stage of training. For the full walkthrough and on-horse examples, watch the episode here: https://www.youtube.com/watch?v=r6F2fKg8JRc.


What you need first
Before I ask for more with my legs and spurs, I want a horse that already understands the basics of being handled, lunged, and started under saddle. That means:
- First saddling if we are still in the colt-starting phase
- Lunging foundation before I begin building forward motion from the ground
- Lunging with saddle before I use spurs to influence body control from groundwork
- Jog and basic rideability before I ask for softness in the bridle or more precise transitions
- Circles, simple lead changes, lope departure, and backup before more advanced maneuvers like counter-canter and rollback
If you try to skip those steps, your leg aid becomes noisy instead of useful. I want the horse to understand the pattern before I ask for more refinement.
Choosing the right spur for the job
One of the biggest mistakes I see is riders treating every spur like it should do every job. I don’t. I choose my spurs based on how much leverage, feel, and response I need from that horse on that day.
At the beginning of colt starting, I prefer a spur with a longer shank and a softer rowel that gives me a little flat surface to rest on first. That lets me start light and only add intensity if the horse leans, ignores the aid, or gets dull. As the horse progresses, I may step into a different style that comes in a little quicker and gives me a more direct feel.
The point is not to be aggressive right away. The point is to have options. I want to start soft, stay soft, and only ask for more if the horse tells me I need it. If I have to change equipment to stay effective, I do it. I don’t want to force every horse into the same tool.
How I use my legs to lift, not nag
The first thing I want is for my legs to stay close enough that I can feel the horse’s body. If my legs are floating away, I’m already behind. I can’t influence balance, elevation, or rhythm from out there.
When I use my feet, I start with my calf and wrap underneath with my whole leg. I think of it as squeezing the horse up and out of the ground, not pushing him flat. If he gives me the right reaction, I come off and reward that response. If he leans on me or stays heavy, I may stay with the pressure a little longer or sharpen the cue depending on what he needs.
I also want riders to think about the way the pressure arrives. I compare it to easing onto the gas pedal on ice: if you come in hard, you lose traction. If you come in soft and deliberate, you can ask for a lot more once the horse understands.
That idea carries through the whole ride. My legs stay close so I can tell when the horse starts to lose balance, fall through a shoulder, or get low in his body. I’m not just riding left and right — I’m shaping the horse in three dimensions.
Building forward motion from the ground up
A horse has to learn that my feet mean, “come up to me and carry yourself.” I don’t want my leg to send the horse out flat. I want it to lift the body first and then travel forward with more energy underneath.
That matters even in groundwork and early riding because I’m trying to build a horse that pushes from behind and comes up through the body. If I can influence the height of the belly and the roundness of the topline with my feet, I’m setting up better movement for everything that comes later.
That mindset also keeps me from riding too fast too soon. I’m not trying to rush the horse into a maneuver. I’m trying to make the horse stronger, softer, and more connected with each ask.
Counter-canter without losing your connection
When I work on counter-canter, I want the horse to stay square through the body while I keep my legs close and balanced. This is where a lot of riders get sloppy. They lean off one side, let the outside leg drift, and lose their ability to influence the stride.
I don’t want that. I want my spur close to the horse’s side the entire time so I can stay connected every stride. If my leg falls away, I lose a stride. If it falls away for several strides, I lose the horse’s balance and the quality of the maneuver.
Counter-canter is one of the best places to test whether you are really riding or just sitting there. I want the horse to stay underneath me, and I want my feet to stay available to help guide each step.
For the full walkthrough on this idea, see the counter-canter segments here: https://www.youtube.com/watch?v=r6F2fKg8JRc&t=1467s and https://www.youtube.com/watch?v=r6F2fKg8JRc&t=1705s.
Rollback and other directional work start with balance
Rollback, like counter-canter, depends on whether I can stay balanced and effective with my lower leg. If I lose my position, I lose the horse’s shape. If I keep my feet close and my body square, I can influence the turn without throwing the horse off his feet.
I want riders to develop enough control that they can separate hand and foot. My hands may be guiding one thing while my feet support another. If I can’t do that, the horse gets mixed signals and the whole ride gets messy.
That same principle helps in reining-style work and any maneuver where I need precision through the body instead of brute force.
Upward transitions should come from underneath, not from a leap
When I ask for a lope transition, I do not want a horse that dives forward and pulls himself over the top. I want a horse that lifts into the transition, comes up through the back, and carries himself into the next gait.
That starts with my seat, but it’s supported by my legs and spurs. I come in quietly, then lift as the horse comes with me. If I do it right, the horse and I move together instead of me leaving him behind or him lunging out in front of me.
That difference matters a lot. A good transition looks round and organized. A poor one looks like the horse is rushing or leaping through the shift. I want the horse to push up and through, not pull himself across the top.
See this segment for more detail on how I time that feel: https://www.youtube.com/watch?v=r6F2fKg8JRc&t=1230s.
Softness in the bridle starts with softness from my feet
A horse can only stay soft in the bridle if I’m soft and clear with my body. If I come in hard with my legs or get abrupt with my timing, the horse braces before I ever ask for release.
That’s why I keep coming back to consistency. I want the horse to understand that I’ll stay quiet when he responds correctly. I also want the horse to feel that I can ask for more if needed, without confusing him or crowding him.
Softness is not about being passive. It’s about being exact. The horse needs to feel a clear shape, a clear ask, and a clear place to soften into.
Practical takeaways
Here’s what I want you to remember from this lesson:
- Keep your legs close enough to actually influence the horse
- Start soft and only sharpen if the horse needs more clarity
- Choose your spur based on the job, not habit
- Use your feet to lift the horse up, not drive him flat
- Stay balanced enough that your inside and outside legs work equally
- Don’t let your leg drift away in counter-canter, rollback, or transitions
- Reward the horse the moment he gives you the right response
What to practice next
If you want to build this into your riding, start simple:
- Practice keeping your lower leg quiet and close while standing still and at the walk.
- Work on feeling when your horse gets heavy, flat, or braces against your leg.
- Review your upward transitions and ask whether the horse is lifting or lunging.
- Ride circles and straight lines while keeping equal contact through both legs.
- As you improve, carry that same feeling into counter-canter, rollback preparation, and more advanced maneuver work.
If you want to see the details in motion, watch the full episode here: https://www.youtube.com/watch?v=r6F2fKg8JRc. I break down the equipment, the feel, and the timing in real riding situations so you can match what I’m describing to what you feel in the saddle.
Support this writer
If this article helped you, leave a one-time tip.


