


Intro
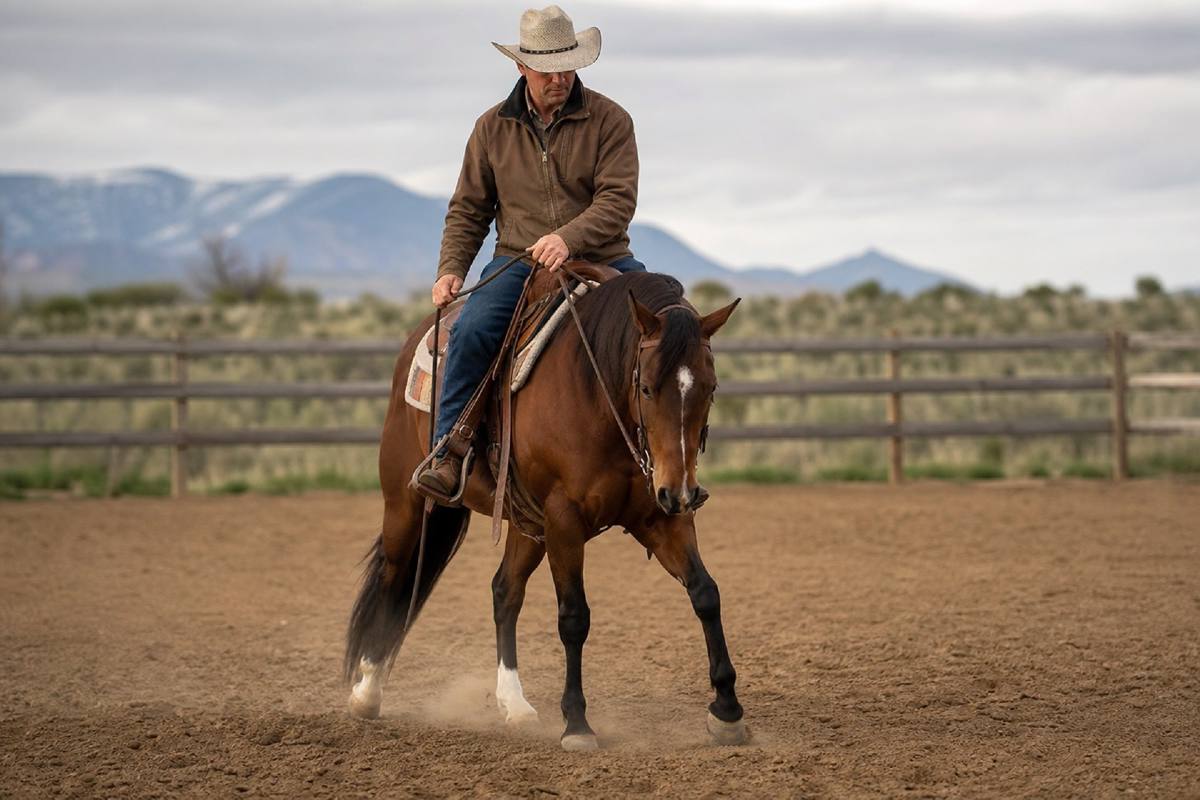
In this lesson, I’m showing you how I begin teaching a horse to give his hips to leg pressure and why that skill matters so much early in the starting process. If you want to watch the full episode first, use this video here. I also included deep links below in the sections where they matter most, so you can jump straight to the part you want to study.
Hip control is one of those fundamentals that can make or break the rest of the horse’s training. If I can get a horse to move his hindquarters softly, I can keep him balanced, keep him from bracing against my leg, and start building the kind of body control that later supports circles, steering, sidepassing, and slower western pleasure work.
What you need first
Before I ask for this kind of hip yield, I want a horse that already understands basic lunge work with tack and can handle simple direction changes without getting overly anxious. In other words, this is not the first pressure-and-release lesson a horse ever sees.
For the under-saddle side of this idea, you should also already have some shoulder control and steering in place. I want the horse thinking, “I can move my body away from pressure,” instead of trying to lean, brace, or panic.
Teach the horse to move away from leg pressure
Watch this segment for the first part of the lesson.
My first goal is simple: I want the horse to understand that pressure on the side means move the body away from it. I do not want to chase him with a busy leg or keep kicking until he guesses the answer. If I keep pumping my leg, I’m actually teaching him to ignore me.
Instead, I ask once, then I stay quiet and consistent until he gives me the movement I want. As soon as I feel even a small try, I release. That release is the reward. That’s what teaches the horse that moving away from pressure makes the pressure disappear.
At the start, I’m not worried about perfection. I’m looking for a soft step, even if it’s small or a little messy. I’d rather reinforce the right idea early than get frustrated because the horse didn’t produce a polished move right away.
Use the body against itself, not against the horse
One of the biggest mistakes I see is riders getting too aggressive with the leg and creating a fight. When I ask for the hip, I want the horse to understand that the pressure is directional, not punishing.
That means I use my leg to suggest the answer, then I support that ask with my hand only if I need to. The important part is that my outside aid does not become a second, conflicting cue. I’m trying to isolate the hip, not confuse the horse by making the whole body brace.
When the horse moves, I soften immediately. That quick release is what keeps the horse honest and light. If I stay heavy after he gives me a try, I lose the lesson.
Build the yield one step at a time
Jump to the later part of the demo here.
Once the horse starts to understand the idea, I keep walking him forward and repeat the exercise on both sides. I want him to stay in motion, stay relaxed, and learn that I can ask for the hip at any time without turning the whole experience into a confrontation.
As soon as I get a step over, I let him come forward and reset. Then I ask again. That repetition is what helps the horse connect the cue to the response. If I can get a clean little puff of movement and then go right back to marching forward, I’m on the right track.
I also work both directions so the horse doesn’t become one-sided. One side may be softer than the other, and that’s normal. I use the side that needs more refinement to help me understand where the horse is still bracing or leaning.
Keep the cue clear: ask, help, release
A lot of riders get into trouble by starting with the hand instead of the leg. I want the horse to first understand the leg cue. If I need extra help, I can bring my hand in to support the ask, but my timing matters.
My order is simple:
- Ask with the leg.
- Help with the hand if the horse needs guidance.
- Release as soon as the horse gives.
That sequence matters because it prevents the horse from learning to move only when I pick up the rein. I want the horse to respond to the leg first, not wait around for the rein to do the work.
Why this matters for future riding
Hip control is a foundation skill. When a horse understands how to step his hips away from pressure, I can later shape the body more precisely in circles, turns, and lateral work. It also helps me keep the hind end under control instead of letting it swing out and steal balance.
That’s a huge piece of developing a horse that can go slower, stay connected, and carry himself correctly. In western pleasure especially, I need the horse to stay soft behind the leg so he can stay balanced in a slower rhythm without falling apart.
Practical takeaways
Here’s what I want you to remember from this lesson:
- Don’t attack the horse with your leg.
- Ask clearly and stay consistent until you get a try.
- Release instantly when the horse moves away from pressure.
- Work one side, then the other.
- Keep the horse walking so the lesson stays calm and forward.
- Use the hand to support the leg, not replace it.
If you keep the cue simple and your timing honest, the horse will start to understand that pressure has an answer.
What to practice next
After your horse starts yielding the hips softly, I’d move on to repeating the same idea in more controlled steering work. That will help connect hip control to the rest of the body, especially if you’re building toward better shoulder control, sidepassing, or more polished under-saddle balance.
For the full walkthrough and on-horse examples, go back to the video and watch the release timing closely. That’s where the real lesson lives.
Support this writer
If this article helped you, leave a one-time tip.


