
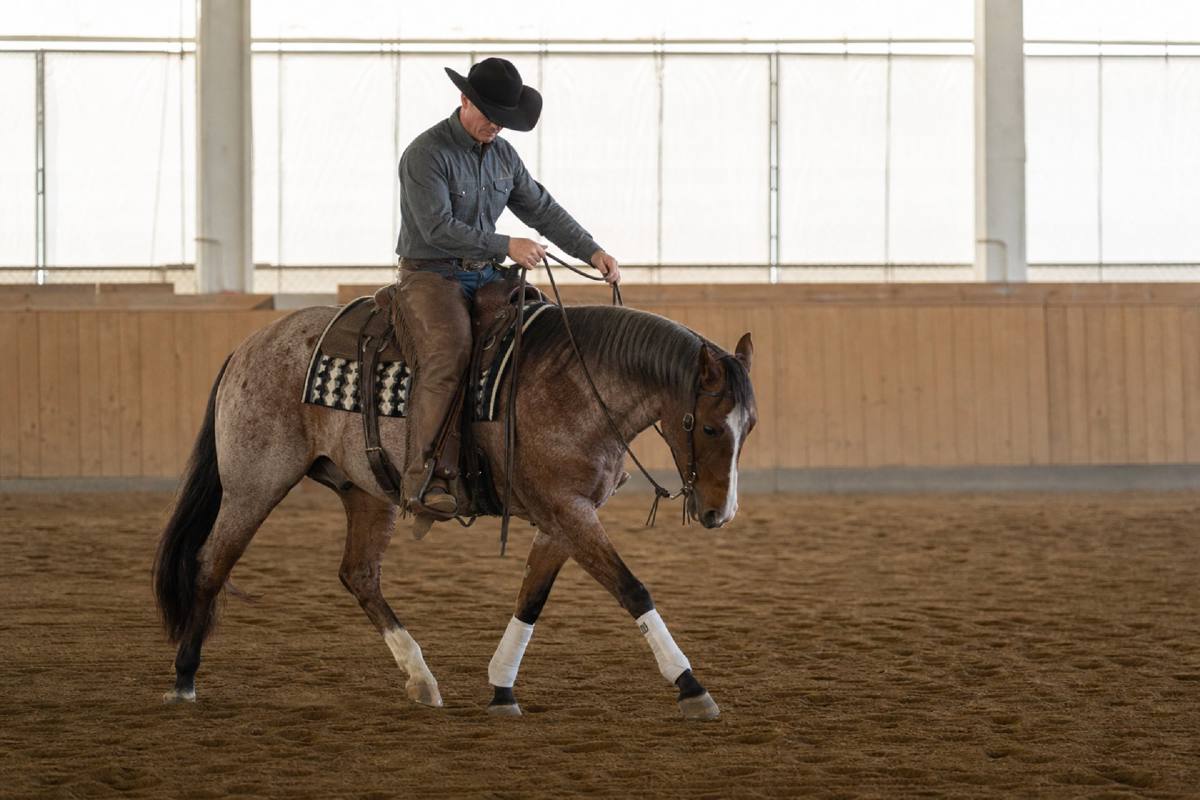
Horse Training vs. Horse Enforcing
In this lesson, I dig into one of the biggest differences I see in horse development: true training versus simply enforcing a position. If I want a horse that stays soft, balanced, and willing, I have to build that response through correct groundwork and correct riding—not shortcuts. For the full walkthrough and on-horse examples, watch the episode here.


What you need first
Before this lesson makes sense, I want you to already have a basic lunging foundation, a first-ride level of handling, and enough control to keep your horse moving forward without getting into a wrestling match. This episode builds on that base. If your horse is not yet comfortable with forward motion, steering, and simple transitions, treat this as a roadmap for what comes next rather than a checklist you should force all at once.
Training starts with respect
I want every rider to remember that our horses are giving us a lot. We ask them for effort, patience, and trust every day, so the first thing I want is appreciation. When I see horses being bullied into a frame, I know the real issue is not that the horse is unwilling to learn—it’s that the handling has become too rough.
My job is not to beat a horse into shape. My job is to coach it. That mindset changes everything. A horse should never feel like it has to shut down in order to survive the lesson.
Build the foundation before you specialize
One of the clearest points I make in this episode is that you cannot rush foundation and expect it to stay. If a horse has been taught the wrong way for a long time, I usually plan on at least half that time again to rebuild it correctly. That may sound frustrating, but it is realistic.
I think of it like school. First, the horse learns the basics. Then, once that base is solid, we can specialize. If you want a horse that later shows in a specific class, the early work still has to create a body that can carry itself, respond to pressure, and stay mentally available.
That is why I do not believe in gimmicks or shortcuts. If a horse has been made to look right without being trained right, you may get a temporary result—but you will also get a horse that is hard to ride, hard to fix, and hard to keep sound in its training.
Riding from foot to hand
When I ride, I want to start with my feet and come to my hands—not the other way around. That means I use my legs and seat to help the horse stay lifted and balanced, and then I bring my hands in to shape the response.
That order matters. If I go to my hands first, I usually flatten the horse or trap it. If I go to my feet first, I can support the horse in a way that helps it carry itself. In other words, I want the horse to roll up into the shoulder and up into its body, not just curl at the neck.
This is where so many riders accidentally create a horse that looks round but cannot stay there once the pressure changes. I want the horse to learn the feeling from the inside out.
Softness in the bridle comes from correct contact
When I ask for softness, I do not want a hard pull. I want a clear bump, a feel, and then a release the moment the horse gives.
That means my hands stay quiet and balanced, and when I need a correction, I apply pressure with enough clarity to get a response—but not so much that I drag the horse around. I’m not trying to feel the horse’s mouth for the sake of pulling; I’m trying to make the face soft by asking the right muscle to soften.
The key here is timing. If I stay heavy after the horse yields, I teach resistance. If I release right away, I teach the horse where comfort lives.
For a more detailed look at that hand position and release timing, see the segment around the middle of the video where I work through rein feel and softness. Jump to that part here.
Use both reins, stay square, and keep the horse balanced
Another mistake I address is riding with one rein doing all the work. I want contact on both sides so I can keep the horse straight in front of me and bring the horse to me instead of collapsing my own position to get there.
If I have to pick up on one side, I still want my shoulders square and my hands organized. I do not want to twist myself out of position just to get a turn or a correction. When I lose my own balance, I make it harder for the horse to stay balanced.
That is why I use a smooth entrance, keep even feel, and slide into the correction rather than jerking backward or pulling the horse away from itself.
Transition work should build lift, not brace
Transitions are one of the best places to build a horse, but only if I do them correctly. When I ask for a lope or a jog transition, I want the horse to come up through the back, not drop behind the leg or lean on the hand.
I use the transition to teach the horse to lift and stay organized through the change of gait. If I can make the transition with my feet first and then support it with my hands, I am teaching strength and softness at the same time.
That process takes repetition. The horse gets stronger because I keep asking for the right shape over and over again, the same way an athlete builds strength with repeated work. At first, I may need more help. Later, I can ask for more lift and less assistance because the horse has learned how to carry itself.
Steering correction should shape, not shove
When I need to correct steering, I want both reins to stay connected and balanced. I am not looking to pull the horse’s head around and leave the body behind. I want to shape the horse so the shoulders, neck, and nose can come through the turn together.
That is why I pay attention to where my hands are, how level I am, and whether I am bumping or jerking. A bump is a quick, thoughtful ask. A jerk is a loss of feel. The horse can brace against a jerk, but it has a much harder time bracing against a clean, soft bump and release.
If I need to use a training fork or another aid during this stage, it is only there to support the horse while I teach balance. It is not a substitute for correct riding.
See the steering work in the middle of the episode for a closer look at how I keep the horse balanced while I shape the body through the turn. Watch that section here.
Practical takeaways
Here is what I want you to remember from this lesson:
- Respect the horse first; don’t try to overpower it.
- Build a real foundation before you expect show-ring precision.
- Ride from your feet to your hands.
- Use bump-and-release, not hard pulling.
- Keep both reins organized so you can stay square.
- Let transitions develop lift, strength, and softness.
- Correct the whole body, not just the face.
What to practice next
If you are working at home, start by checking your own habits. Are you riding from the leg up, or are you reaching for the reins first? Are your transitions helping the horse lift, or are they making it brace? Can you keep even contact and ask the horse to give without getting heavy?
I would also suggest revisiting the video and watching the examples closely. The demonstrations matter here, especially when you compare a smooth bump to a jerk, or a balanced transition to one that falls apart. Watch the full episode for the on-horse examples and timing.
If you make one change this week, make it this: ask for more with less force. That is where real training begins.
Support this writer
If this article helped you, leave a one-time tip.


